
How to Design Your Own Amigurumi (and Get the Pattern Written for You)
Design a custom crochet animal from parts in 3D, no pattern maths needed, and get the round-by-round amigurumi pattern with counts and assembly notes.
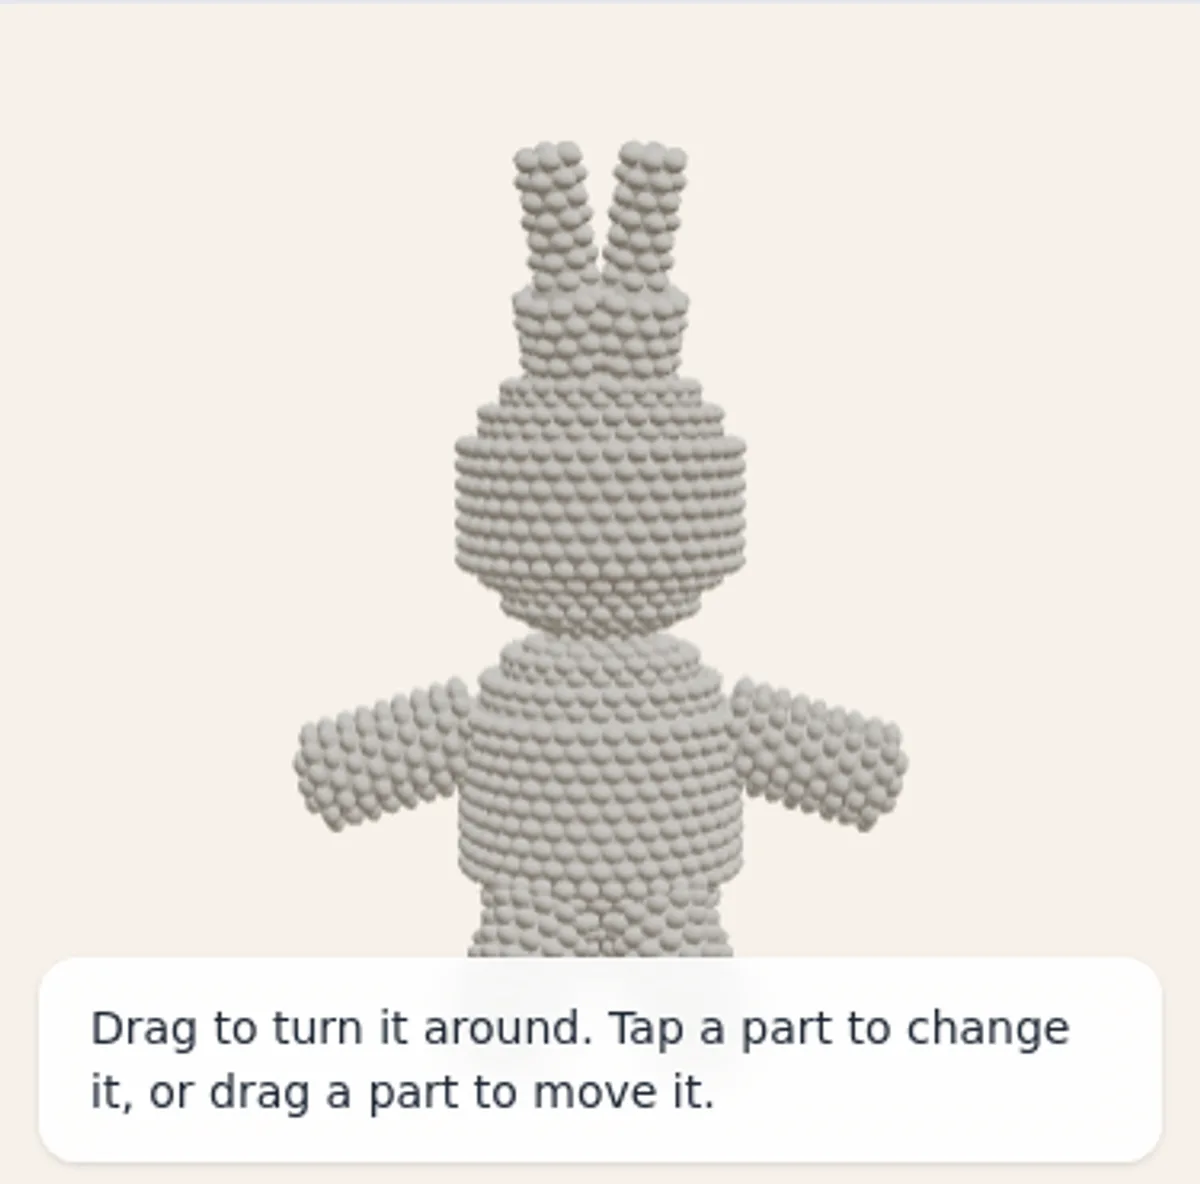
You have crocheted three bears from other people’s patterns and now you want one with a bigger head, shorter legs and a snout that actually looks like a snout. Writing your own amigurumi pattern used to mean spreadsheets and a lot of frogging. Here is how to do it in a few minutes, on your phone, and end up with instructions you can crochet from tonight.
What the designer does
The amigurumi designer lets you build a crochet animal out of parts in 3D: a body, a head, ears, a snout, arms, legs, a tail. You set each part’s size in centimetres, pick its colour, and drag it to where it should be sewn on. Then it writes the pattern: every part round by round in US terms, with the stitch count after each round, “make 2” for pairs, stuffing notes, and assembly notes that say which round each piece goes on.
It does that because amigurumi is, underneath, one idea repeated: a shape crocheted in the round, growing and shrinking by evenly spaced increases and decreases. Give the designer a shape and a yarn thickness and it knows how many stitches fit around each round. If you want the details, we wrote them up in why every amigurumi pattern goes 6, 12, 18, 24.
Step 1: start from an animal
Open the designer and tap a starter. The bear, the bunny and the cat are complete animals; “Start from a body” gives you an egg-shaped body and nothing else. Starters are the fastest route, because most animals are a bear with different ears.
Drag on the empty background to turn the animal around. Pinch, or scroll, to zoom.
Step 2: change the parts
Tap a part and it lights up with a teal outline. The panel shows its sliders: a ball has one size, a body has height and width, arms and legs have length and thickness. Every number is in centimetres for the yarn you chose, so a 7 cm head is a 7 cm head.
Below the sliders is the colour palette. Arms, legs and ears come as mirrored pairs and change together, so recolouring one arm recolours both. If you want them different, tap “Unlink the pair”.
To move a part, drag it over the body. It slides along the surface and its twin mirrors the move on the other side. Where you leave it is where the assembly notes will tell you to sew it.
Step 3: add what is missing
The tray above the panel adds parts: a head needs a body first, ears and a snout need a head. New parts land in a sensible place and you drag them from there. A tail on a cat wants to be low on the back; on a bunny it is a round pom near the same spot.
Two tricks: a “tail” is a cone, so it also makes long bunny ears, horns and a unicorn’s horn. A “snout” is a flattened half ball, which also works as a paw pad or a muzzle for a dog.
Step 4: pick your yarn
The yarn selector in the header has three settings: thin (a 2.5 mm hook), medium (3.5 mm) and thick (5 mm). Change it and every part is rewritten for that yarn. The 3D preview redraws too, one bump per stitch, so you can see the gauge change.
Step 5: read the pattern
Open the Pattern tab. Each part is a section, in the order you would make them: body, head, snout, ears, arms, legs, tail. A section for a pair says “make 2”. Closed parts end with “stuff firmly and close”; open parts end with “leave a long tail for sewing”. The assembly notes at the end say things like “Sew the arms to the body at round 9, on opposite sides.”
Copy the pattern to your notes app or print it. Your first full pattern is free; after that, patterns unlock one at a time or with Pro, like everything else on Knytstudio.
Making it look like the animal you meant
- Heads are bigger than you think. Most cute amigurumi have a head as wide as the body or wider.
- Arms hang; legs point down and out. The designer tilts them that way by default, and the assembly notes follow.
- Small ears high on the head read as a bear, tall cone ears as a bunny, small ears with a long tail as a cat. Eyes and embroidery are up to you; place them after the head is stuffed.
- If a part comes out with too few rounds to look right, make it a little bigger rather than thinner. Rounds step in multiples of six, so tiny changes may not change the count.
Save it, and come back to it
Designs are kept on your device while you play. Sign in and they save to your account, show up on your dashboard, and open on any device. That is also how you get the full pattern for a design later without redoing it.
Ready? Open the designer and start from the bear.
Frequently asked questions
Do I need to be good at maths to design amigurumi?
Not with the designer. You set sizes in centimetres and choose a yarn thickness; the rounds, increases, decreases and stitch counts are worked out for you and written like a published pattern.
Can I design on my phone?
Yes. The designer runs in the browser on phones, tablets and computers. Turn the animal with one finger, pinch to zoom, and use the big buttons in the tray to add parts.
What if I want a shape the tray does not have?
Combine what is there. A cone makes a horn or a long ear, a half ball makes a snout or a paw, a tube makes a neck. If you need something the parts cannot make, tell us: the tray will grow with what people ask for.