
Amigurumi designer: design it, read the pattern, crochet it
Six steps through the designer with pictures of each. Every step works on a phone too.
Step by step
-
1.Start from an animal
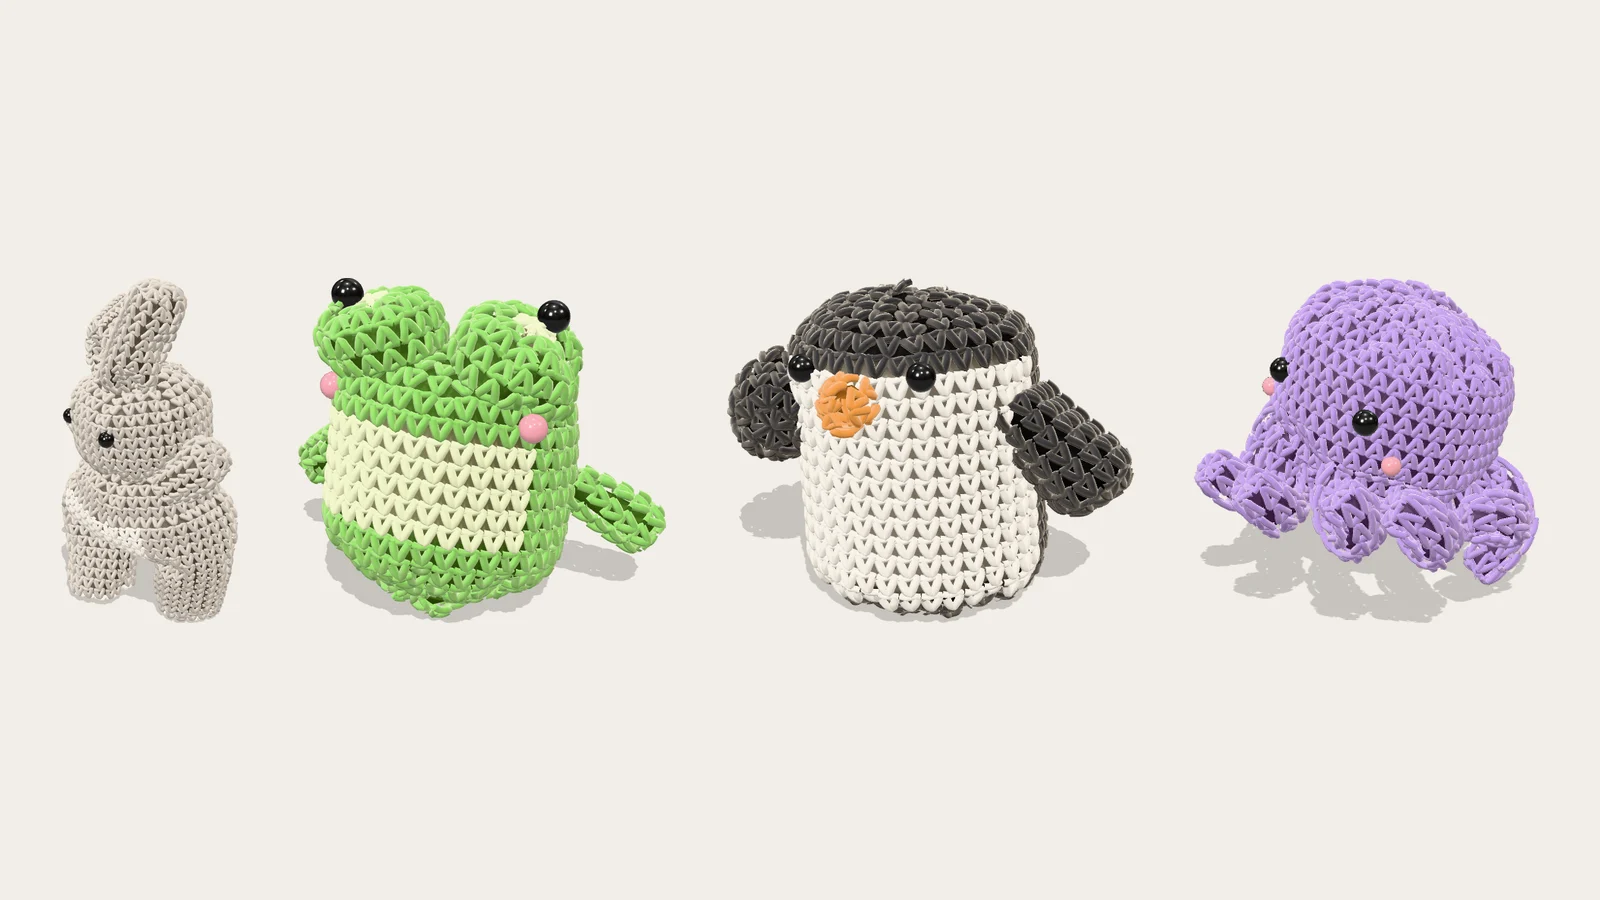
Choose a starter under New from: a standing bunny, a penguin, a frog, an octopus, a teddy bear, a teddy car, a long cat, a little car, a cottage or a donut. Drag to turn it and pinch or scroll to zoom.
-
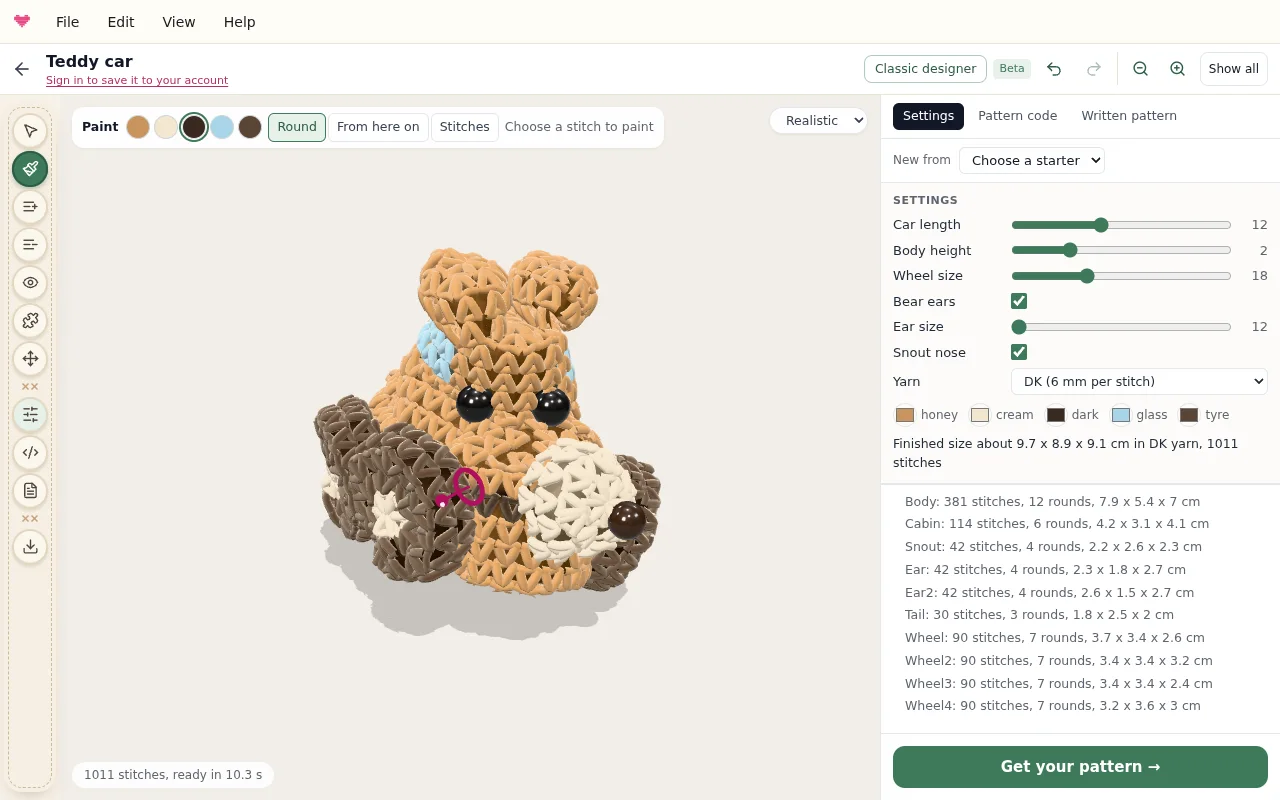
2.Edit it with the tools
Pick a tool in the rail and click a stitch: Select opens a panel for that spot, Paint colours a round, everything from there on or a few stitches, and the other tools add or remove a round, place a safety eye, or sew on and move a piece. Undo always works.
-
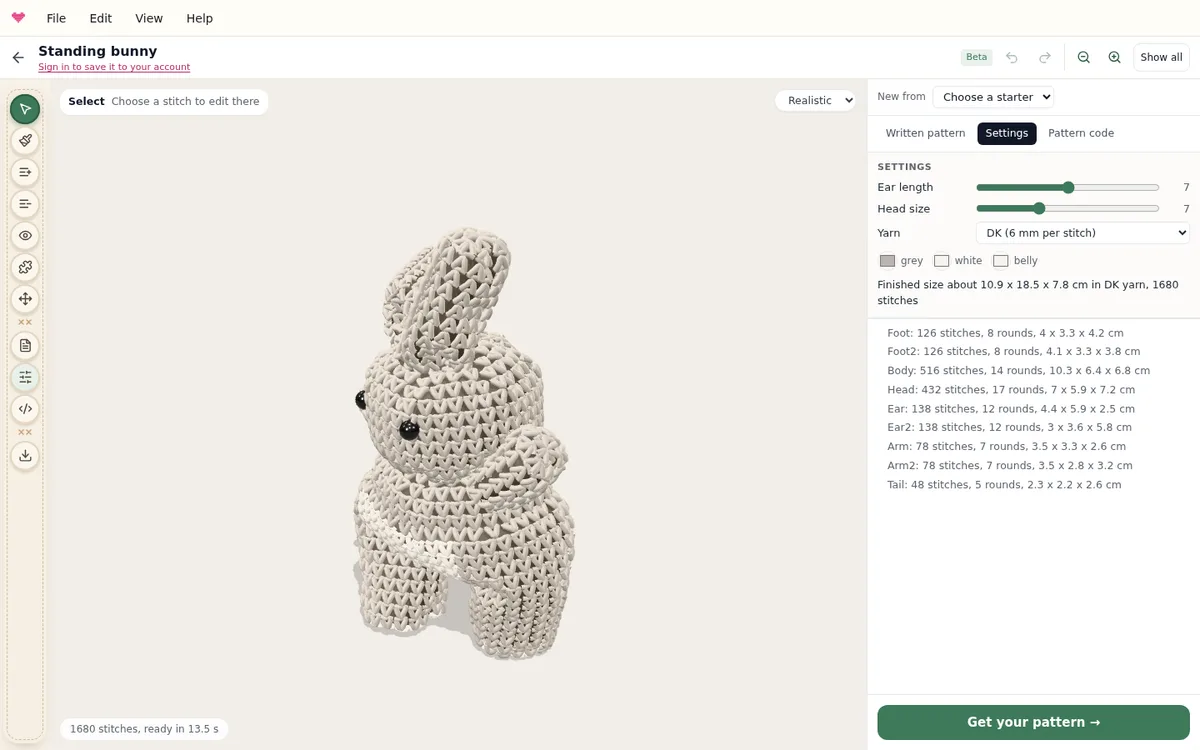
3.Change it with the settings
Settings has the sliders the starter comes with, a colour picker for each yarn and the yarn weight. The finished size in centimetres is written under them.
-
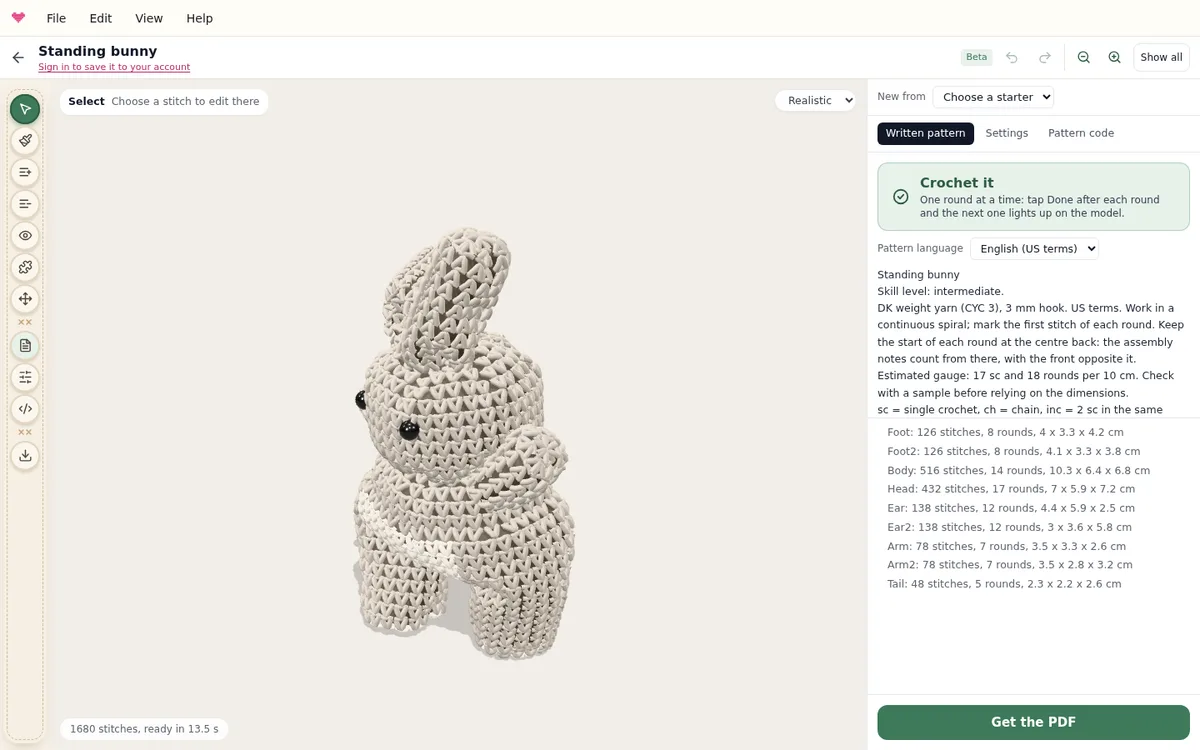
4.Read the written pattern
The written pattern opens first: every piece with its rounds and stitch counts, colour changes, where the eyes go and how to sew it together, in 17 pattern languages. Get the PDF downloads it with pictures from every side.
-
5.Crochet it, round by round
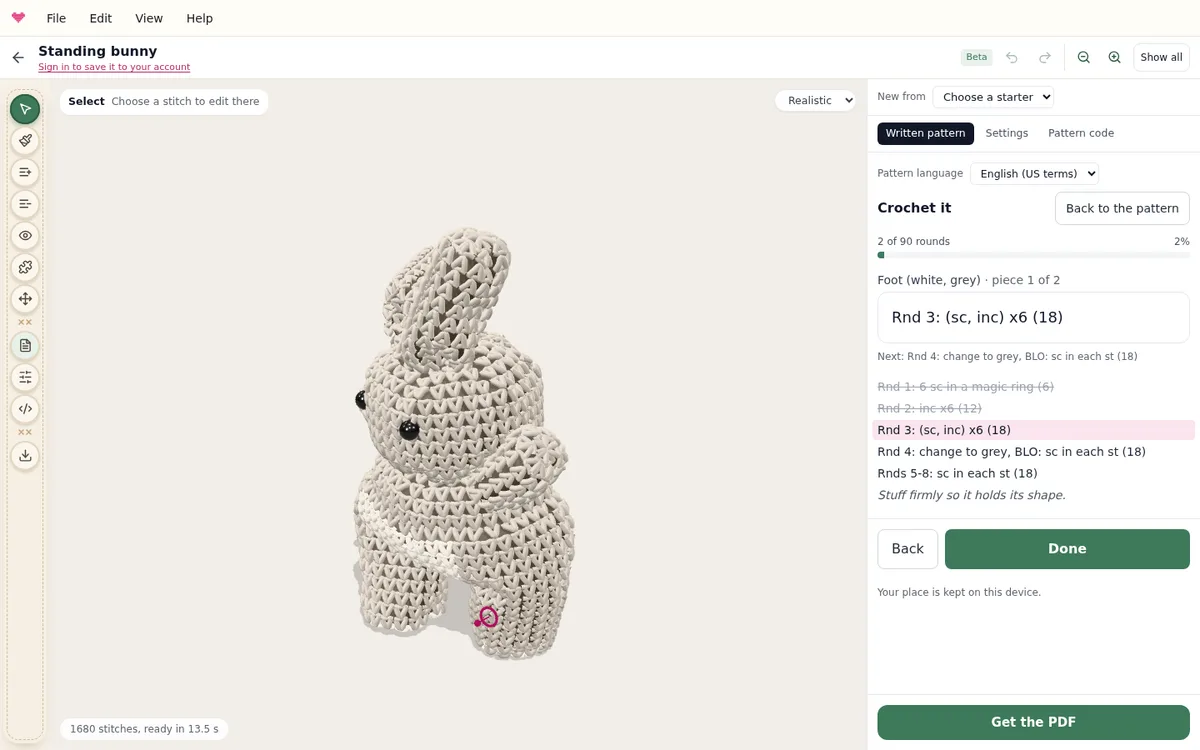
Press Crochet it to see one round at a time with its piece, and the round lit up on the toy. Tap Done after each round; your place is kept on this device.
-
6.Carry on on a phone
On a phone the toy stays at the top, the tools sit in a strip under it and the pattern scrolls below.
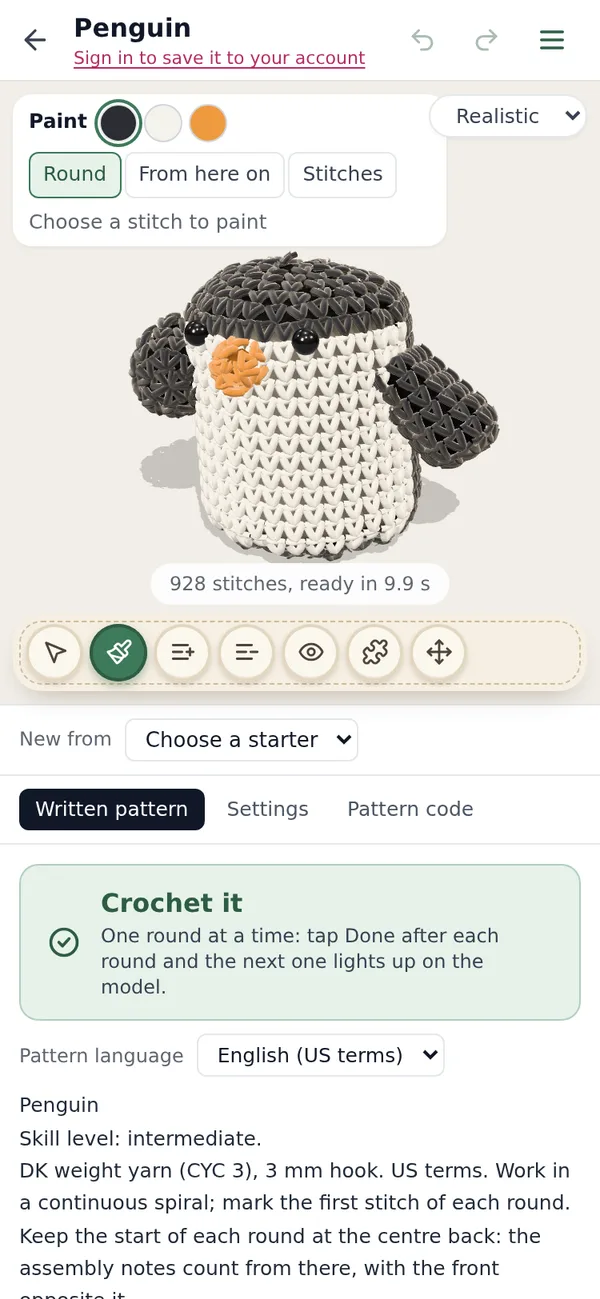
The designer makes every stitch of the pattern and lets the yarn, the stuffing and gravity settle the toy, so the preview follows the counts you will crochet. Your tension, yarn and stuffing still change the result a little.