
Creating Patterns
How to add colour changes and stripes to amigurumi
Paint whole rounds, everything from a round on, or single stitches on your amigurumi in 3D, and check the colour changes in the written crochet pattern.
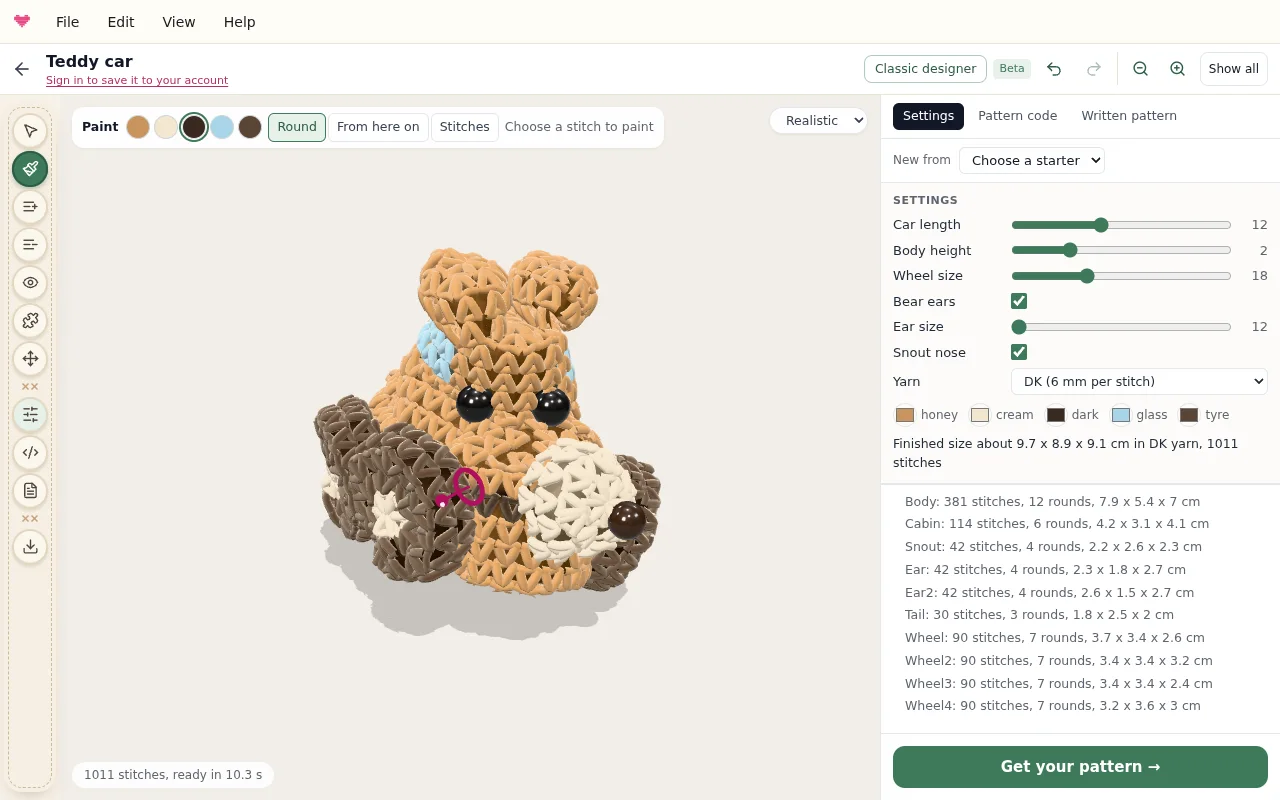
Plan stripes, patches and colour blocks before you crochet. In the amigurumi designer, the Paint tool colours the toy where you click, the 3D view shows the result at once, and the written pattern says where to change yarn.
Paint a round, a stripe or a patch
Choose Paint in the tool rail (or press B). Above the toy you choose the yarn and what to paint:
- Round colours the whole round you click.
- From here on colours that round and every round after it, to the end of the piece: a two-colour body, a white tummy that runs to the top, a coloured hat brim.
- Stitches colours a few stitches at the spot you click. Set how many stitches at a time; click again next to it to make a patch bigger, or round by round to make a spot or a heart.
For a stripe, paint each round of the stripe in turn. Undo takes back the last click.
Change the colours themselves
Every yarn in the design has a colour picker in Settings. Change one and every stitch in that yarn changes with it, without building the toy again, so it is the fast way to try a pink bear, then a grey one.
Back and front loops
Choose Select, click a stitch and choose Back loop or Front loop to work that round in one loop only. It leaves a ridge on the outside, which is how the base of a foot or the line where a hat turns is usually made. The 3D view folds the fabric there, as the real yarn would.
What the pattern says
Open Written pattern to check the result. A colour change inside a round is written at the point where it happens, such as “change to icing, 4 sc, change to dough, 3 sc”, and a round in one colour says “change to grey” at its start. The yarn list at the top gives an estimate of how much of each colour you need.
In the pattern code a colour change is a colour name in square brackets, for example R8: [brown] sc x6, [cream] sc x12. You can write it yourself, too; the colours are listed in the colors: line at the top.
Tips for neat colour changes
- Change colour on the last pull-through of the stitch before the new colour, so each stitch is cleanly one colour.
- Keep the round start at the centre back, as the pattern says: jogs in a stripe then sit at the back.
- A thin stripe of one round shows a small step where the spiral starts. Two rounds read as a stripe from every side.
Continue with yarn, gauge and size, building your own shapes, or the designer guide.
Try it yourself
The Knytstudio editor is free to use in your browser. No install, no signup needed to start.
Open the editor